
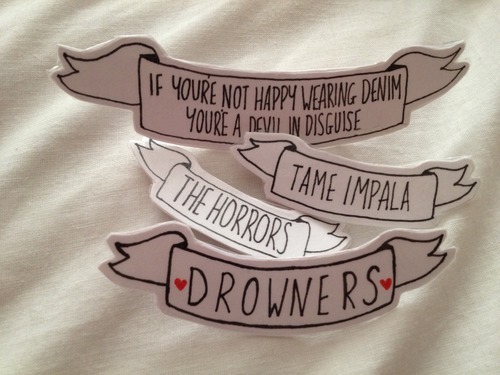
Are you on a budget and can’t afford your favourite band’s badges? Does a band you like not have a badge set and you want to show your appreciation to the world? Are you feeling cool and creative and other fancy adjectives such as those? Then THIS is the thing for you.
For this you will need:
- Scissors
- Safety pins
- Sticky tape
- A pencil + fineliner pen (in whatever colour obviously, I opted for black and a bit of red)
- A glue stick
- Sticky-back plastic / book covering / whatever else it’s called
- Thin card
- (Thick) paper (I use the stuff out of my drawing sketchbook, it’s not too thick or too thin)
I’m going to demonstrate this with a more simple badge because quite frankly I cannot be bothered to make another banner right now. However, it’s exactly the same concept except from the fact you’re going to draw a banner, and the application of the sticky-back plastic requires a lot more patience.
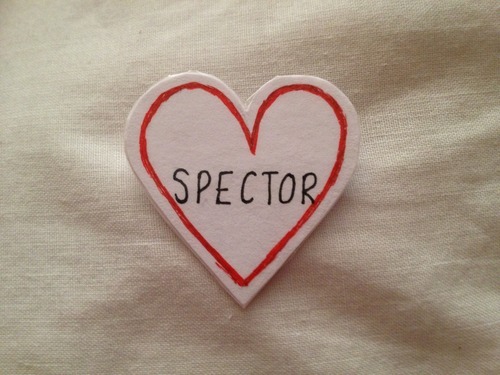
To begin, draw out a design onto the paper (or even cut a photo out I don’t know, embrace your freedom) and cut it out with or without a border.
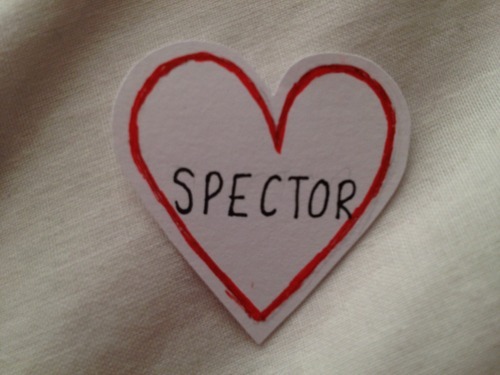
Next, glue it onto the card and cut it out again. Repeat this step to ensure the badge is sturdy and won’t bend when you’re wearing it and dancing to some cool music or something. Your badge should now be three layers thick, one layer of paper and two of card.
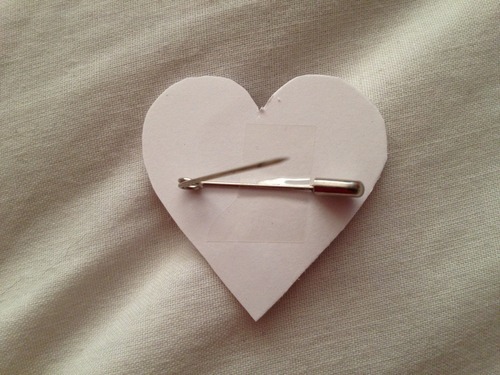
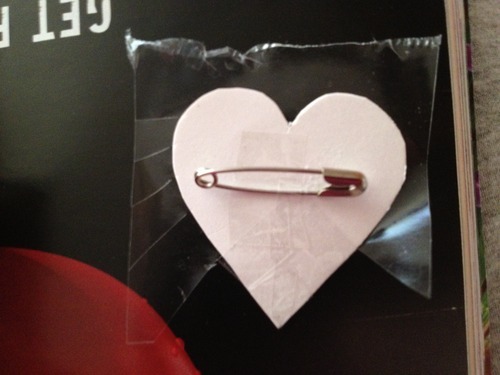
Next get a safety pin on a suitable size and tape it to the back of the badge.
Cut a piece of sticky-back plastic and peel off the backing. Stick it onto the front of your badge. (Do excuse my nail varnish-less hand)
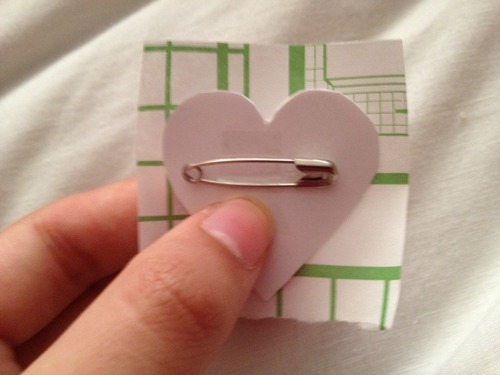
To finish, cut slits around the excess plastic. This will make it a lot easier to fold it around onto the back, especially around any curves.
And that’s it! Now you have a cool DIY badge to show off to your friends, other people on the internet, total strangers, pets, whatever
Hope you enjoyed this tutorial (are tutorials enjoyable things?) and more to the point I hope this actually made sense and you found it somewhat useful. If you choose to make one, or several in fact, feel free to show me via Twitter or Instagram if you want!